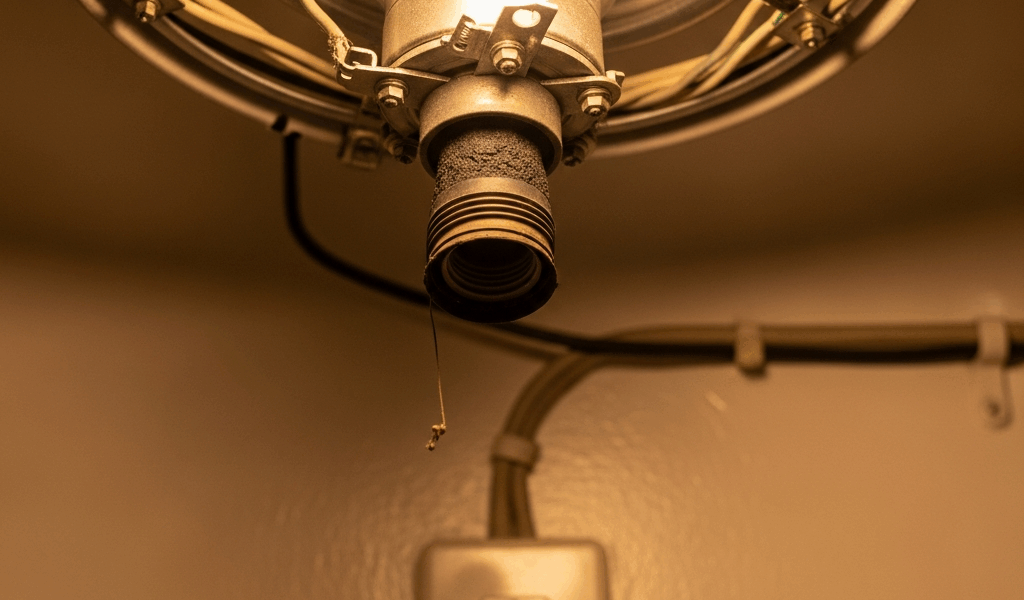
Why Your Ceiling Fan Light Keeps Burning Out Fast
I’ve replaced more ceiling fan bulbs than I care to admit. Every two weeks. Sometimes less. Screw in a new one, it glows for a few days, then—darkness. For years, I blamed cheap bulbs. Went through dozens of “premium” options, thinking that was the answer. Then an electrician friend asked me one question: “Does it only burn out when the dimmer is on?” Everything clicked into place after that.
Most homeowners think ceiling fan light burnout is just bad luck or a fixture quality problem. It isn’t. The real culprit almost always lives in your electrical system — voltage fluctuations, incompatible dimmers, or loose connections that destroy bulbs from the inside out. I’m going to walk you through what’s actually happening and the fixes that work, because buying yet another bulb isn’t going to solve this.
The Dimmer Switch Problem — and Why It’s the #1 Culprit
Here’s what I didn’t know: most standard dimmer switches were never designed for ceiling fan light kits. That’s just a fact. Ceiling fans operate on different electrical logic than traditional wall-mounted lights, and throwing a standard dimmer into that circuit creates a genuine problem.
When you install a regular dimmer, it controls brightness by cutting the AC waveform in half — literally chopping the electrical signal. Incandescent bulbs in a standard fixture? No problem. But ceiling fan lights operate differently. That waveform interruption creates voltage spikes and drops happening dozens of times per second. Your bulb filament (or LED driver circuit) is essentially getting shocked repeatedly.
LED bulbs are particularly vulnerable here. Most standard LEDs have internal drivers that expect stable voltage. Dimmer-induced fluctuations cause those drivers to work overtime, generating heat they weren’t designed to handle. The result: premature failure, usually within weeks instead of years.
Try this diagnostic test first — I wish I had: Does the light only burn out when the dimmer is on? If yes, your dimmer is almost certainly the problem. Run the light on full brightness (dimmer all the way up, no modulation) for a week. If the bulb lasts significantly longer, you’ve found your culprit.
The good news — newer dimmers rated specifically for ceiling fan lights exist. They use different switching technology — usually trailing-edge dimmers or solid-state devices — that don’t create those voltage fluctuations. They cost a bit more ($25–$40 versus $10–$15 for standard dimmers), but you’ll actually keep a bulb alive for longer than a month.
Voltage Fluctuation and Unstable Current
Beyond dimmer switches, your ceiling fan light burnout might stem from broader voltage instability in your circuit. This is messier to diagnose, but it’s real. Probably should have opened with this section, honestly — it affects more homes than people realize.
Your home’s electrical panel distributes power at 120 volts nominally. That’s not the whole story though. Voltage naturally fluctuates between roughly 110 and 130 volts depending on demand throughout your neighborhood. Most appliances tolerate this fine. Bulbs, especially LED bulbs with sensitive internal circuitry, don’t. Constant minor voltage swings shorten filament life or stress LED drivers until they fail.
Certain household loads make this worse. Classic scenario: your AC unit and ceiling fan light share the same circuit. When the compressor kicks on during a hot afternoon, it draws a massive surge of current. That causes a voltage dip on the entire circuit — maybe half a second, but it happens repeatedly throughout the day. Your light bulb sees dozens of these stress events daily.
Loose connections compound the problem significantly. A corroded breaker, a loose wire nut at the junction box, or even a slightly loose connection at the dimmer switch creates resistance. Resistance generates heat and causes voltage to drop unpredictably across your circuit. Bulbs downstream of that loose connection experience wild voltage swings.
Shared circuits are another common culprit. If your ceiling fan light runs on the same 15-amp circuit as a space heater or high-draw appliance, you’re setting yourself up for voltage instability every time that appliance runs.
Incorrect Wiring or Loose Connections
Installation errors destroy bulbs faster than almost anything else. I’ve seen plenty of these — some obvious, others subtle enough that a homeowner would never catch them without testing.
Loose connections at the dimmer switch itself are surprisingly common. The screws holding the hot and neutral wires to the dimmer terminals loosen over time due to vibration from the fan motor. Result: intermittent contact. When contact is intermittent, the connection point generates heat — lots of it. That heat travels up through the wiring and stresses your light circuit. Your bulb is essentially operating in a higher-resistance environment.
The same problem happens at the junction box behind the fan. If the installer didn’t properly seat the wire nuts or used undersized connectors, you get poor contact. Again, heat. Again, your bulb fails prematurely.
I’ve also seen cases where the ceiling fan light circuit was wired in parallel with the fan motor circuit but sharing a ground wire. That’s not to code, and it creates voltage regulation issues that make bulbs fail quickly. An electrician can spot this immediately — a homeowner usually can’t without testing equipment.
Improper gauge wiring is rarer in residential installations, but it happens. Run 14-gauge wire when 12-gauge was required for the circuit load, and you get higher resistance and voltage drop. The effect compounds when the fan is running at the same time as the light.
How to Diagnose Which Problem You Have
Before you call an electrician (and you might need to), run through these diagnostics. They take 10 minutes and will tell you what’s actually happening.
Test 1: The dimmer test. If your light is on a dimmer, turn it all the way up. Install a new bulb and leave it running at full brightness for a full week without dimming it at all. If the bulb lasts a week or more at full brightness but burns out within days when you use the dimmer, you’ve isolated your problem to the dimmer switch itself.
Test 2: The heat check. Let your light run for 10 minutes, then carefully touch the canopy — the metal housing where the bulb sits. It should be warm, not hot. If it’s hot enough that you can’t hold your hand there, you’ve got excessive heat generation — either from loose connections or a wiring issue. Don’t ignore this one.
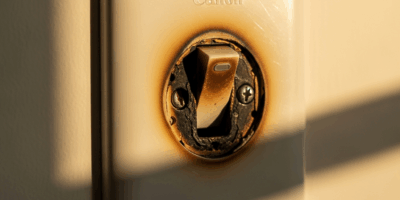
Test 3: Visual inspection. Open the ceiling fan canopy and look inside using a flashlight. Look for burn marks, discoloration, or scorching around the wiring terminals or junction points. Even small black marks indicate heat generation that’s above normal. That’s a sign of loose connections.
Test 4: The isolation test. If possible, disconnect the dimmer temporarily and wire the light directly to the circuit (or use an inline switch instead). Install a new bulb and run it this way for a few days. If the bulb lasts noticeably longer without the dimmer, your dimmer is the issue. If it fails at the same rate, you’re dealing with voltage fluctuation or wiring problems upstream.
What to Do About It — Fixes That Actually Work
Once you know what’s wrong, the fixes range from simple to “you need a professional.”
If it’s the dimmer: Buy a ceiling fan-rated dimmer. Lutron, Leviton, and GE all make them. Look for labels that say “compatible with fan lights” or “trailing-edge.” Install it exactly like a standard dimmer — same wiring, same process. Cost is $25–$45. This is a safe DIY job if you’re comfortable with basic electrical work and turn off the breaker first.
If you don’t want a dimmer at all: Replace it with a standard on-off switch. Your light won’t dim, but it’ll last for years instead of weeks. This is the fastest fix and costs $5–$10.
If it’s loose connections: This depends on where the looseness is. Loose at the dimmer terminals? Turn off the breaker, remove the dimmer, and re-tighten every wire using a screwdriver, not your fingers. Then reinstall. Inside the fan canopy at the junction box? Same process — turn off the breaker, open the canopy, and ensure every wire nut is hand-tight and seated properly.
If you suspect shared circuits or voltage instability: Call an electrician. Seriously. They can measure actual voltage with a multimeter and identify whether your circuit is being overloaded or if there’s a bigger problem with your panel. This costs $100–$200 for a service call, but it saves you from months of guessing.
Bulb choice matters, but it’s secondary. Once you fix the underlying electrical issue, use an LED bulb rated for dimmer-use if you kept the dimmer, or any quality LED if you went with a standard switch. Don’t waste money on premium bulbs until you’ve solved the electrical problem. Premium bulbs in a bad circuit will fail just as fast as cheap ones.
Your ceiling fan light should last for years. If it’s burning out every few weeks, your fixture isn’t broken — your electrical setup is fighting against it. Fix that, and the problem disappears.



Stay in the loop
Get the latest northwest electric pros updates delivered to your inbox.