Why Your Light Switch Stops Working With No Tripped Breaker
Home electrical stuff has become tricky with all the conflicting advice flying around. Forums say one thing, YouTube videos say another, and meanwhile you’re standing in a half-dark room flipping a switch that does absolutely nothing — breaker perfectly fine, light fixture seemingly intact.
As someone who’s spent the better part of a decade troubleshooting electrical gremlins in my own 1987 ranch house and eventually in my neighbors’ homes too, I picked up the practical knowledge of this particular problem. Today, I will share it all with you.
The short version: a light switch not working but breaker is fine almost always traces back to one of four things. A dead switch. A wire that’s pulled loose and lost metal-to-metal contact. A tripped GFCI outlet sitting upstream on the same circuit. Or — less common but nastier — a failed neutral connection somewhere inside the wall.
Most of these fixes take under twenty minutes. While you won’t need a truck full of tools, you will need a handful of basics: a multimeter (around $15 at any hardware store), a flathead screwdriver, and the discipline to kill power at the breaker before touching anything.
First Check the GFCI Outlet on the Same Circuit
This is the piece to know up front. It catches roughly half the dead-switch complaints I’ve ever fielded, and most people skip straight past it.
But what is a GFCI outlet? In essence, it’s that rectangular outlet with the TEST and RESET buttons you’ve seen near bathroom sinks. But it’s much more than that — a single tripped GFCI can cut power to multiple switches and fixtures downstream on the same circuit without touching the main breaker panel at all. The whole circuit just goes dark and quiet.
That’s what makes diagnosing this particular fault so maddening to homeowners — nothing in the breaker box looks wrong because nothing in the breaker box is wrong.
So, without further ado, let’s dive in. Hunt for GFCI outlets in these spots first:
- Bathrooms (almost always has at least one)
- Kitchen countertops
- Garage walls
- Basement or laundry room
- Any outlet within six feet of a water source
Look at the face of each GFCI you find. If the RESET button is popped outward — sitting further forward than the TEST button — it’s tripped. Press RESET firmly until you feel and hear a distinct click. Then walk back to your dead switch and flip it.
Light comes on? You’re done. A ground fault triggered the GFCI — maybe a failing appliance, a damp outlet box, or a wire contacting something metal it shouldn’t. Reset it and monitor for a few days. If it trips again quickly, call an electrician. Something on that circuit is genuinely faulty and hunting for it isn’t a weekend DIY project.
Light still dead? Move on to the switch itself.
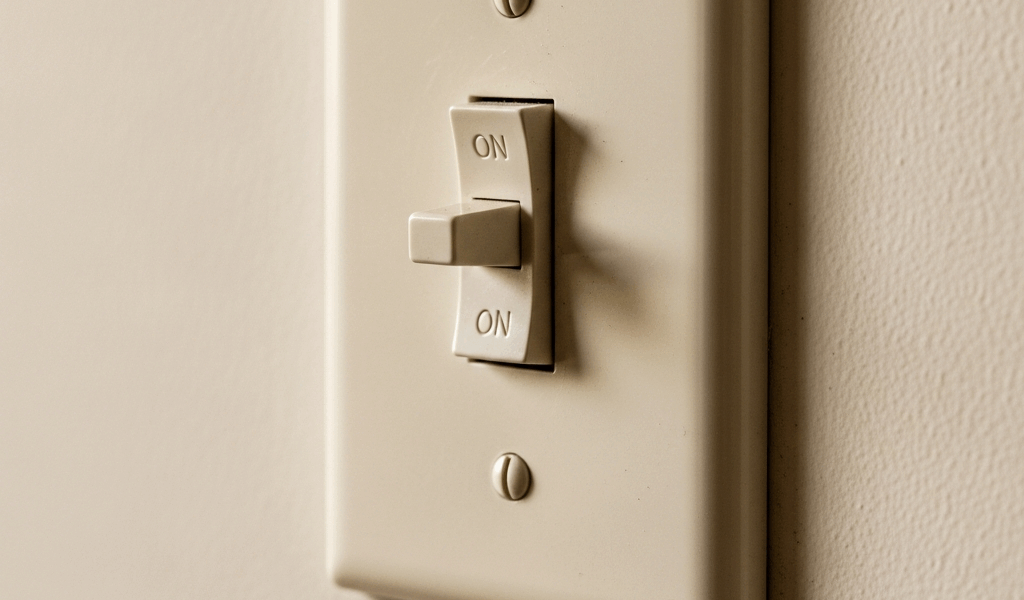
How to Test the Switch With a Multimeter
A mechanically dead switch is the second most common culprit. I’ve replaced probably thirty of them over the years — they’re a $3 part at Home Depot and the testing process takes about five minutes.
Before anything else: turn off the breaker controlling that switch. Non-negotiable. A live switch carries enough current to seriously hurt you, and no diagnostic shortcut is worth that.
Breaker off. Now unscrew the switch plate — usually two Phillips screws — and set it aside. The switch underneath will have two brass-colored screw terminals on the sides and sometimes a green ground screw near the bottom.
Set your multimeter to continuity mode. On most cheap meters — I use a Klein MM300, paid $22 for it in 2019 — continuity looks like a little sound-wave symbol or a diode symbol. Touch one probe to each brass terminal while the switch is flipped ON. A beep or a reading near 0 ohms means the switch is passing current correctly.
Now flip the switch to OFF and touch the probes again. This time you should hear nothing, or see the meter display “1” or OL — open loop, meaning no continuity. The switch broke the circuit. That’s correct.
Same reading in both positions? Beeping both times, or showing high resistance both times? The switch is dead. Loosen the brass terminal screws, pull the wires free, and attach them the same way to a new switch. Take a photo before you pull anything — seriously, don’t do what I did of trusting your memory when you’re standing at the hardware store twenty minutes later.
Checking for a Loose or Backstabbed Wire Behind the Switch
Before you swap that switch out, inspect the wiring itself. Frustrated by a dead switch that tested perfectly fine on his continuity meter, a neighbor of mine down the street spent an entire Saturday assuming his switch was faulty — new switch, same problem. He eventually found a wire that had pulled completely free from the back of the outlet box. Forty-five minutes of unnecessary work.
Look at the back of your switch. See small round holes instead of brass screw terminals? That’s backstabbing — wires jammed straight into spring-loaded holes rather than wrapped around a screw. It works fine for three to seven years, then the wire gradually backs out, especially in homes where temperature swings make copper expand and contract repeatedly. The contact fails invisibly. No scorch marks, no smell, just silence when you flip the switch.
This new wiring shortcut took off in the 1970s and eventually evolved into the backstab nightmare electricians know and curse today.
The fix: pull each wire out of the back holes. Strip roughly a half-inch of insulation from the tip if it’s been nicked or is too short. Wrap the bare copper clockwise around the brass screw terminal — clockwise, so the screw tightening motion pulls the wire in rather than pushing it out — and tighten snug. Not gorilla-tight. Snug.
While you’re in there, tug gently on the neutral wire too. That’s usually the white one. A loose neutral is rarer than a loose hot wire, but it happens — and it causes strange behavior like power present at the switch but no light, or intermittent flickering. Reseat it the same way if it feels slack at all.
I’m apparently one of those people who lives in a house with aluminum wiring — built 1971, and yes, it’s the silver-colored stuff — and Noalox anti-oxidant paste works for me while bare aluminum connections never stay reliable. About $8 at any hardware store. Dab it on the wire before screwing it down. Aluminum oxidizes at the connection point and that oxidation kills conductivity over time.
When to Stop DIYing and Call an Electrician
Some symptoms mean put the screwdriver down and dial a professional. Full stop.
Call an electrician if you encounter any of these: a burning smell near the switch or outlet box, brown or black scorch marks on wire insulation, cracked or brittle insulation that flakes when you touch it, or — most importantly — if your multimeter shows voltage at the switch terminals even after you’ve flipped the breaker off. That last one means a second live wire from a different circuit is sharing that junction box. That’s not a DIY situation.
These are signs of a short circuit or a serious wiring fault. A licensed electrician can trace it safely with the right equipment. The diagnostic steps above will solve most dead-switch problems — but they’re not meant to substitute for professional judgment when something looks genuinely wrong.


Stay in the loop
Get the latest northwest electric pros updates delivered to your inbox.